
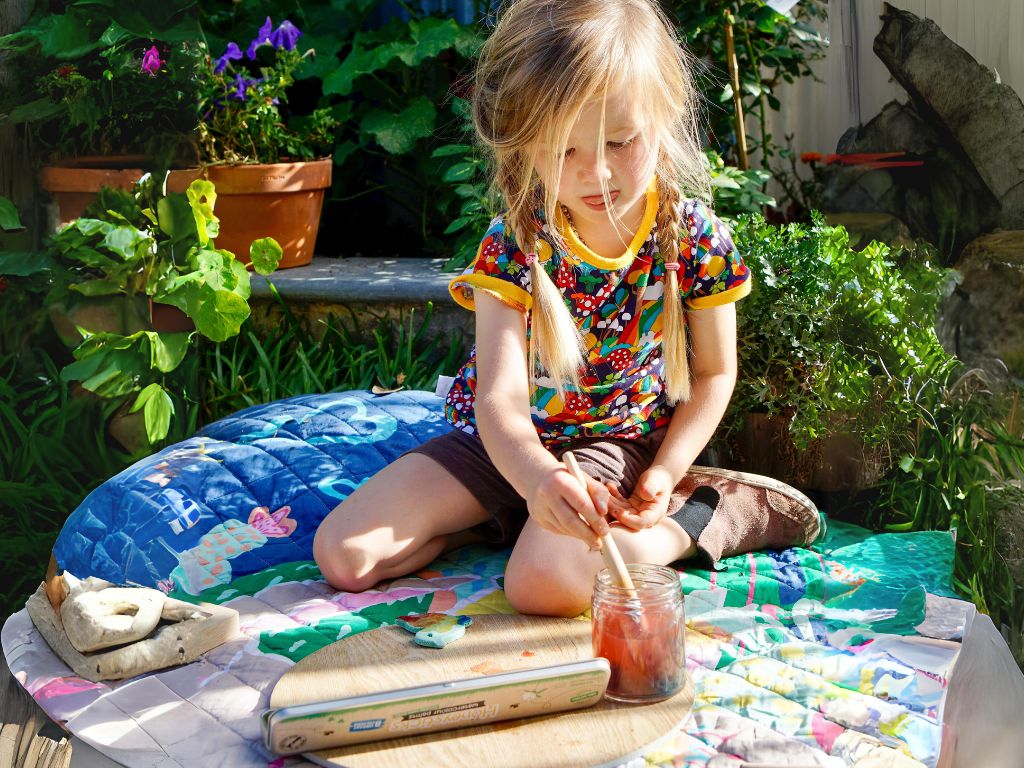
Here’s a great outdoor activity for kids: watercolour ice painting! 🌞 This twist on traditional painting encourages sensory play and will have little artists creating and learning at the same time. Check out the full how-to video, here!
Materials Needed:
- Honeysticks Watercolour Paints
- Honeysticks Paintbrushes
- Silicone moulds or ice cube trays (fun shapes are fantastic!) 🌸
- Water (to fill trays)
- Plate or tray
Step 1: Freeze Your Canvas
Fill the silicone moulds or ice cube trays with water and freeze them overnight. This will become the chilly canvas to paint on! 🧊
Step 2: Prepare Your Painting Station
Cover your workspace with a waterproof material to catch any melting water. Place the plate or tray on top of this surface.
Step 3: Prepare your Ice Canvas
Pop the frozen shapes out of the moulds onto your plate or tray. The ice will begin to melt - this is the perfect base to use with watercolour paints 🎨
Step 4: Painting time!
It’s now time to start painting onto the ice – let your little artist use their watercolour paints directly on the ice. No additional water needed!
As children apply the watercolours to the ice, have them watch the colours come to life. You can talk about the textures and patterns they see - experiment with swirling, blending, and layering colours 🌈 This step adds the sensory experience for children and allows them to understand how different colours and elements work together.
Step 5: Capture the Moment
Capture the ice creations with photos! 📸 As we know, ice doesn’t last forever, so this will preserve their little masterpiece and allow them to reflect on their creative process 💭
Don’t forget to share these and tag your creations - @honeysticksofficial!

